About Me
My name is Jonathan Wimer and I’m a half German, half American audio engineer currently residing in Stuttgart, Germany where I’m working as ‚Tonmeister‘ for the Staatstheater, after acquiring my masters degree in ‚Digital Media Production‘ at FH St. Pölten in Austria.
During my last year in school I took part in an internship program at the Bavarian Broadcast Service (BR Klassik) called ‚Jugendradiotag‘ (Youth Radio Day), where I got to co-host on live radio for 2 hours, after 4 weeks of collaboratively preparing the show. That’s when I first got into contact with professional audio production while creating a short feature in the studio. Since I had started producing electronic music just a few months prior to that, my kindling love for all things audio was now set ablaze.
Following my subsequent Abitur (High School Diploma), in order to gather more life and work experience, I decided to try and find another internship before going off to university. I found this chance in the FSJ Kultur (Volontary Social Year) program, which gave me the chance to combine my long standing love for theater with my growing interest in audio and work at the sound department of one of Germanys most renowned theaters, the Munich Kammerspiele. Here I started off assisting the sound engineers in their work but in a matter of a few months I came in charge of my own small productions, which led me as far as traveling to Switzerland with a guest performance. As this year full of amazing learning experiences came to a close, I went looking for a university program to continue on this path, but also broaden my horizon in the media landscape.
Soon after I enrolled in the ‚Audiovisual Media‘ program at Stuttgart Media University. Here I learned the ins and outs of different forms of media, all the while maintaining a focus on audio production. Apart from schooling in traditional recording techniques, I started accumulating experience as a composer for various types of film and other media. This direction has sparked a lot of joy as I never would have thought to be in this position, but I deeply enjoy supporting stories with an emotional backdrop of music. I concluded my degree with delving into a long standing interest of mine: creating an audiovisual electronic music performance.
In order to further expand my knowledge in the field of audio I then started my masters at FH St. Pölten. Here I set out to work on more technical projects as well as interactive installations and immersive audio applications. During the course of the two-year program I was able to develop three audio focussed semester-projects as well as two visually-based endeavours, whcih you can find more info on below.
Areas of Interest:
Music production, Film composition, Mixing/Mastering, Live Sound (Theater, TV, Concerts), Live Performance, Audio programming, Synthesizer Design, Photography, Videography
Previous Education:
Bachelor of Engineering in ‚Audiovisual Media‘ at Stuttgart Media University (2020)
Previous Internships:
FSJ Kultur at Münchner Kammerspiele (Sound Department) (2015-16)
Internship at Württembergische Staatstheater Stuttgart Schauspiel (Sound & Video Department) (2018-19)
Current position:
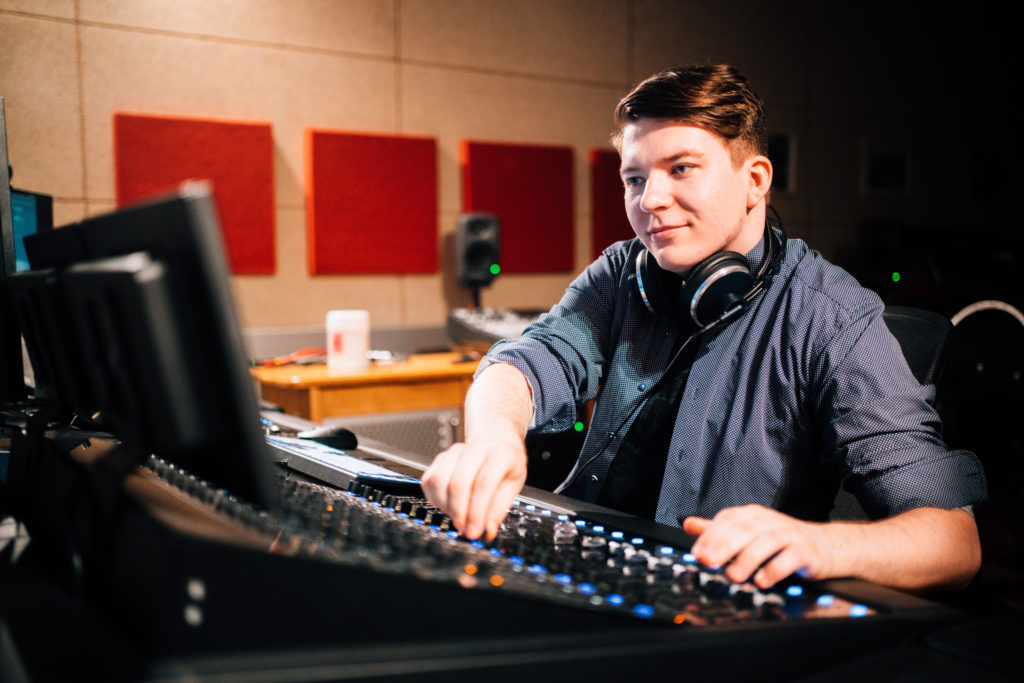
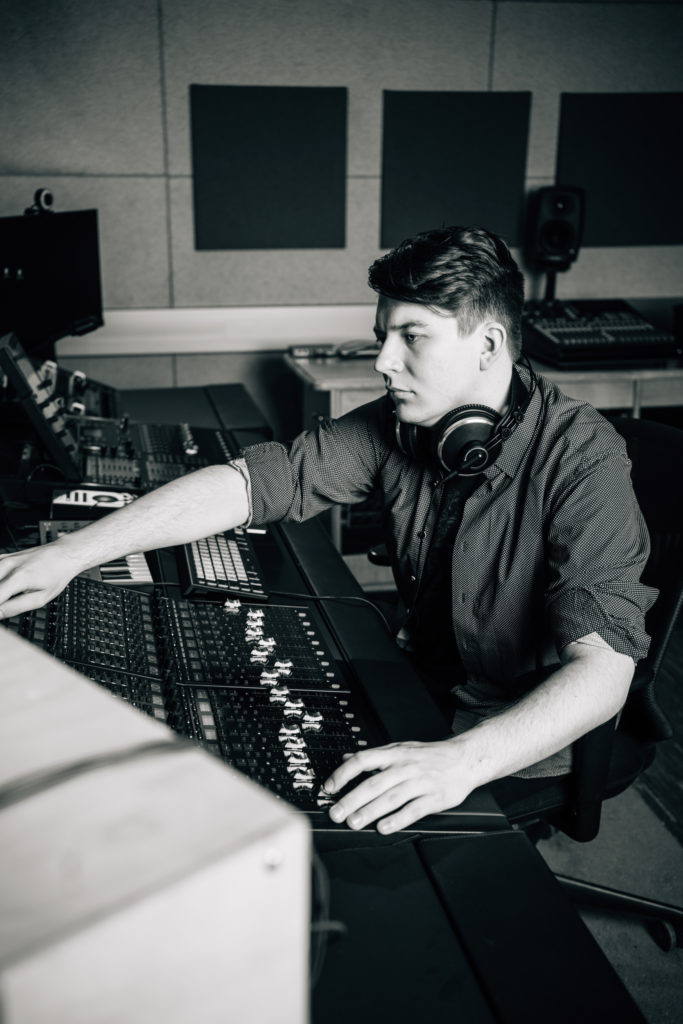
Tonmeister at Württembergische Staatstheater Stuttgart (Kammertheater and Schauspielhaus)
(2022-ongoing)
1st Semester Project
OMNIspeaker
The project I pursued in my first semester at FH St. Pölten was creating an omnidirectional loudspeaker. With the help of 3D-printing I planned and assembled a two-way speaker system with dispersion cones, that radiate the sound outward in every direction, creating a natural sound field. In the following video I explain (in German) my motivation and process as well as showing the making of the ‚OMNIspeaker‘ and giving a quick demonstration.
2nd Semester Project
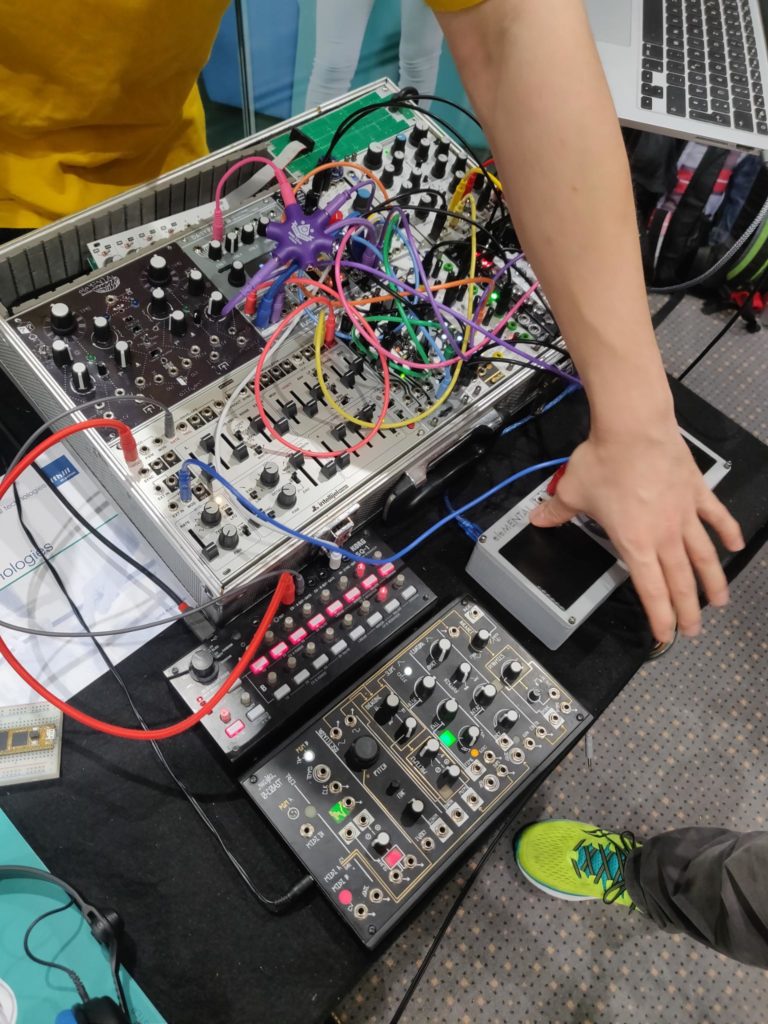
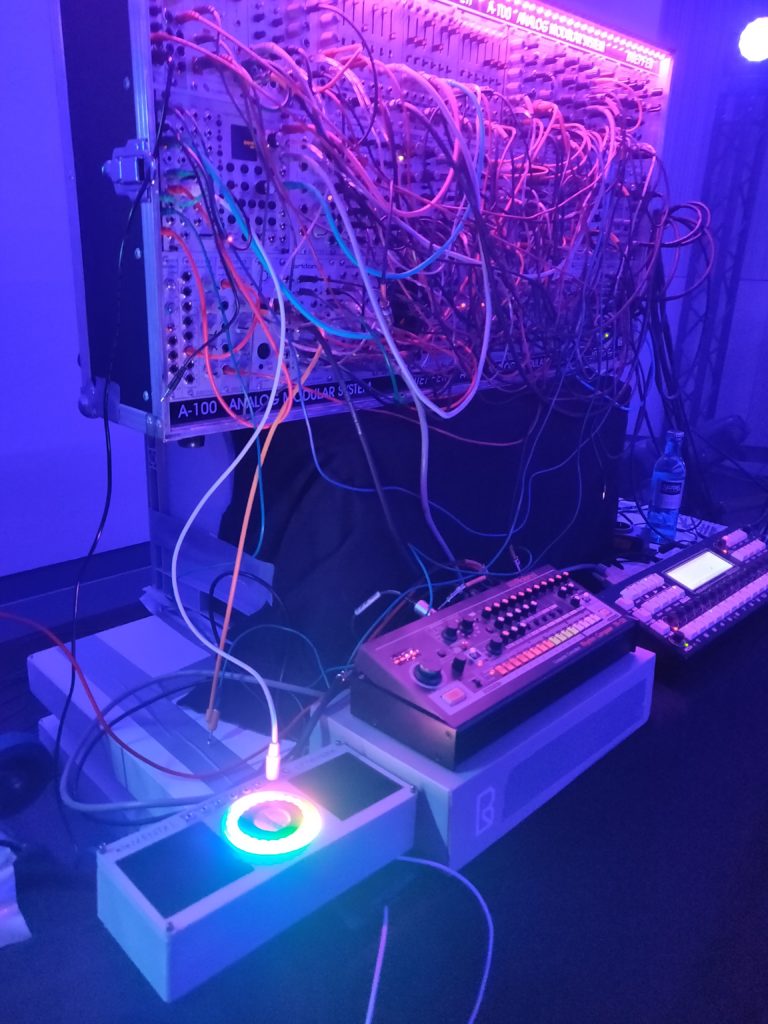
oXYchrome by eleMENTAL devices is a multidimensional standalone touch surface made to work with Eurorack modular synthesizers.
The focus of oXYchrome lies on an intuitive design that’s ready for you to take on stage and perform with. It will give you a completely new, yet intuitive way to interact with your modular. The controller features two square, X-Y-Pad style main sensors, as well as an additional ring sensor.
The brain of the controller is an Arduino Nano, that is connected to two MCP4728 DACs (via a TCA9548a multiplexer) as well as a Neopixel LED-ring and three Bela Trill sensors. All of these components are housed in a custom, 3D-printed enclosure. It offers three dimensions of touch (X- & Y-position as well as the surface area Z) on both square sensors, while the ring sensor in the center outputs touch location and a gate signal, when a touch is detected.
You can find more information in the video below or on the eleMENTAL devices homepage:
https://elemental-devices.jimdosite.com/store/oxychrome/
eleMENTAL devices oXYgen~
Alongside my controller project, Andreas Dorner (the second half of eleMENTAL) developed a Dual Delay module called oXYgen~. It is based on the Electrosmith Daisy platform and features two independent delay lines, that offer a plethora of different configurations and a multitude of (voltage-) controls. Both devices are made to work especially well with each other and create a uniquely flexible sound design environment.
Project presentation at tmt31
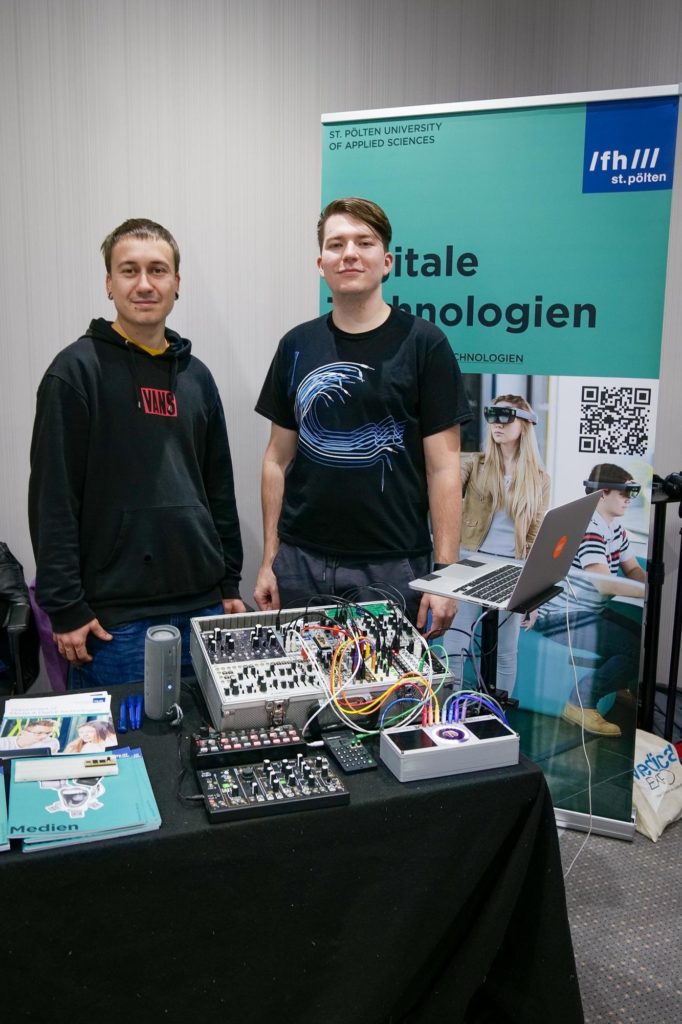
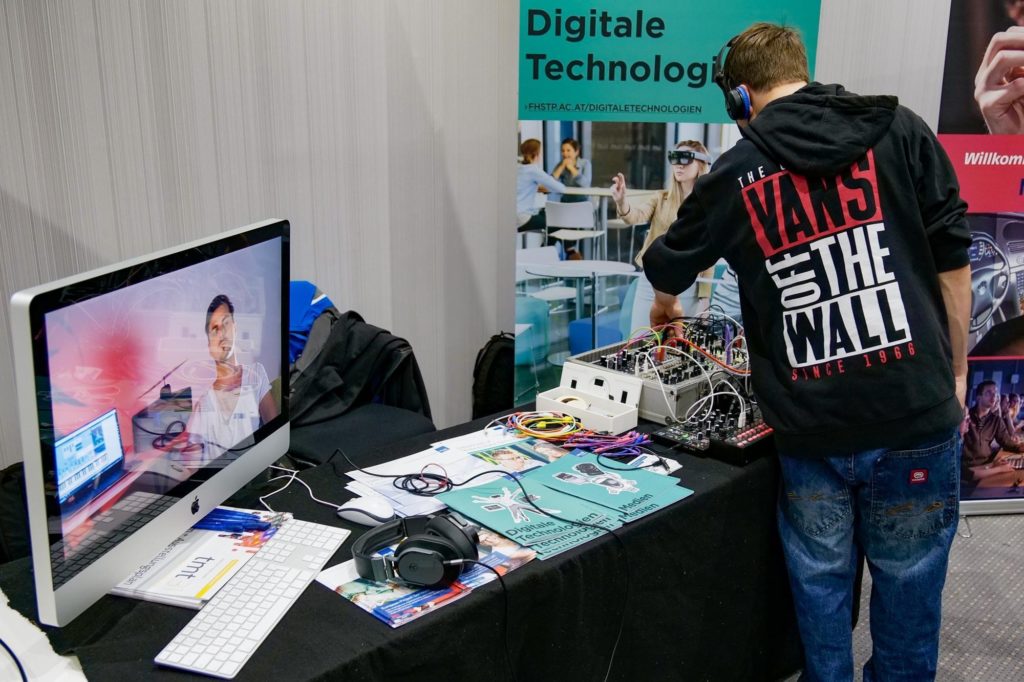
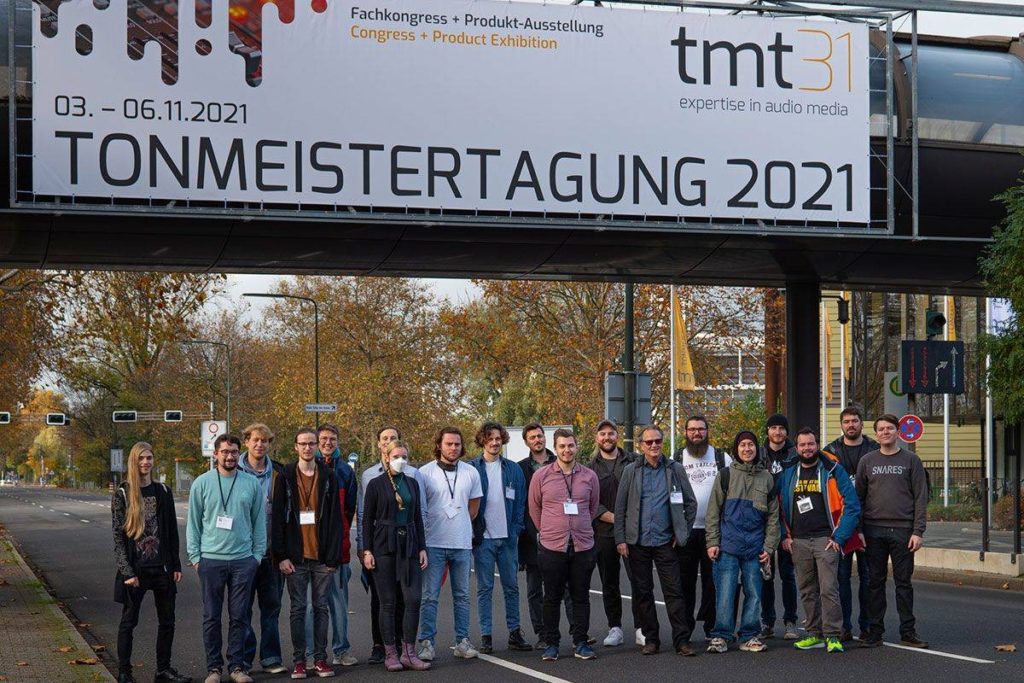
Andreas and I represented eleMENTAL devices at the Tonmeistertagung 2021 (tmt31) in Düsseldorf, Germany. We brought along oXYgen~ and oXYchrome and displayed them at the Education Forum. The modular band „Ströme“ that was performing at the convention enjoyed oXYchrome so much at our stand, that they took it on stage with them for the closing concert!
https://www.fhstp.ac.at/de/newsroom/news/die-audiowelt-versammelt-sich-in-duesseldorf
3rd Semester Project
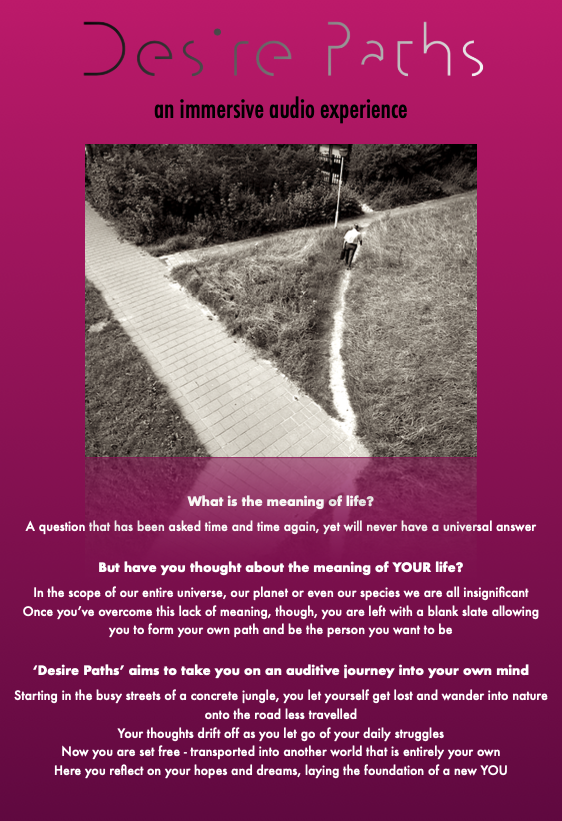
My final semester project was the creation of an immersive audio experience in Higher Order Ambisonics. „Desire Paths“ is an audio play in three acts, which tells a story about breaking out from the conventions and „mantras“ of our capitalistic society. We follow a protagonist who realizes that he is merely a cog in the machine of the system that is destroying our world and its people. Overwhelmed by his previously suppressed emotions, he storms through the door of his inner-city office and heads out into nature. There he begins to reflect on his feelings and find peace of mind.
Desire Paths is comprised of self composed music as well as recorded sound effects and voice, which combine to create a philosophical journey in a first person perspective, that envelops the listener and takes them on a journey. Below you can find a Making Of & Teaser video and also the full audio experience in a binaural version for immersive listening on headphones.
Summer School 2021
Arduino Interactive – Digital Camera Hack
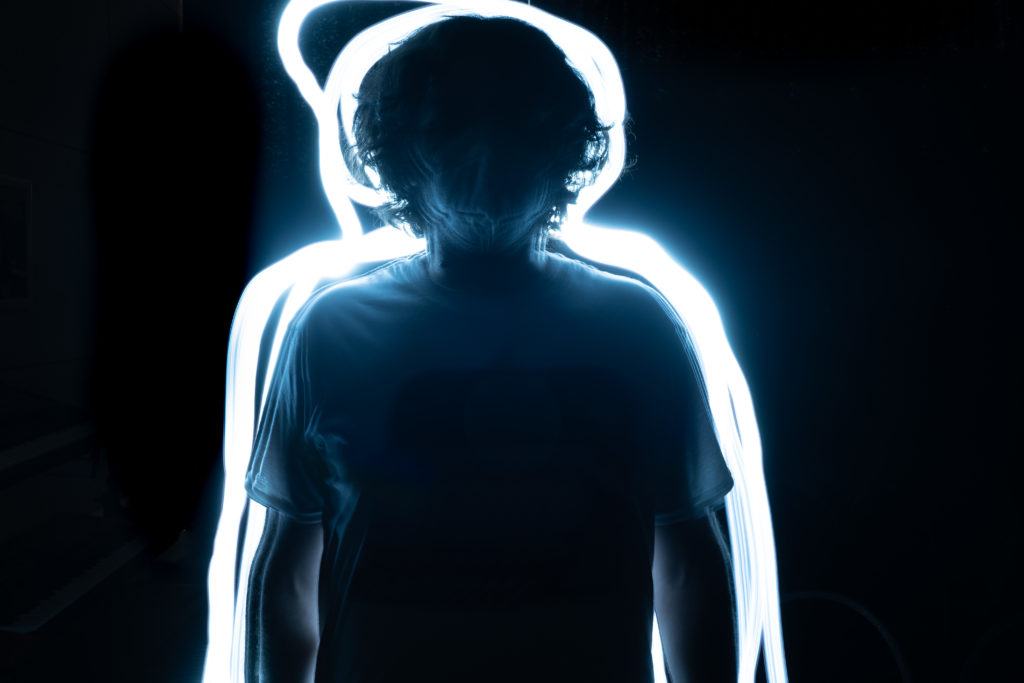
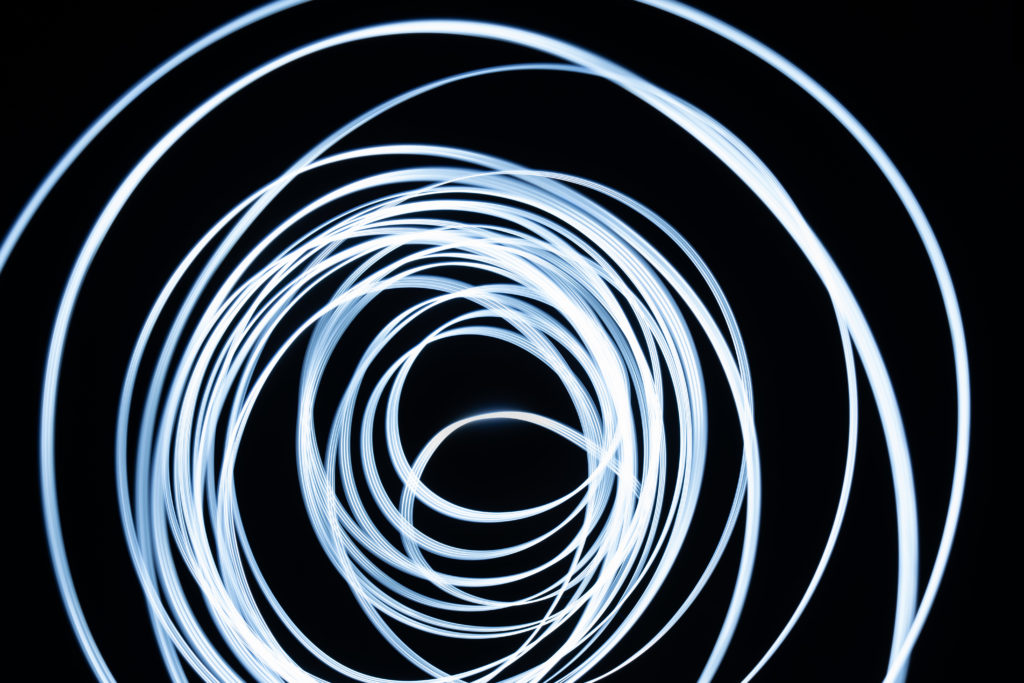
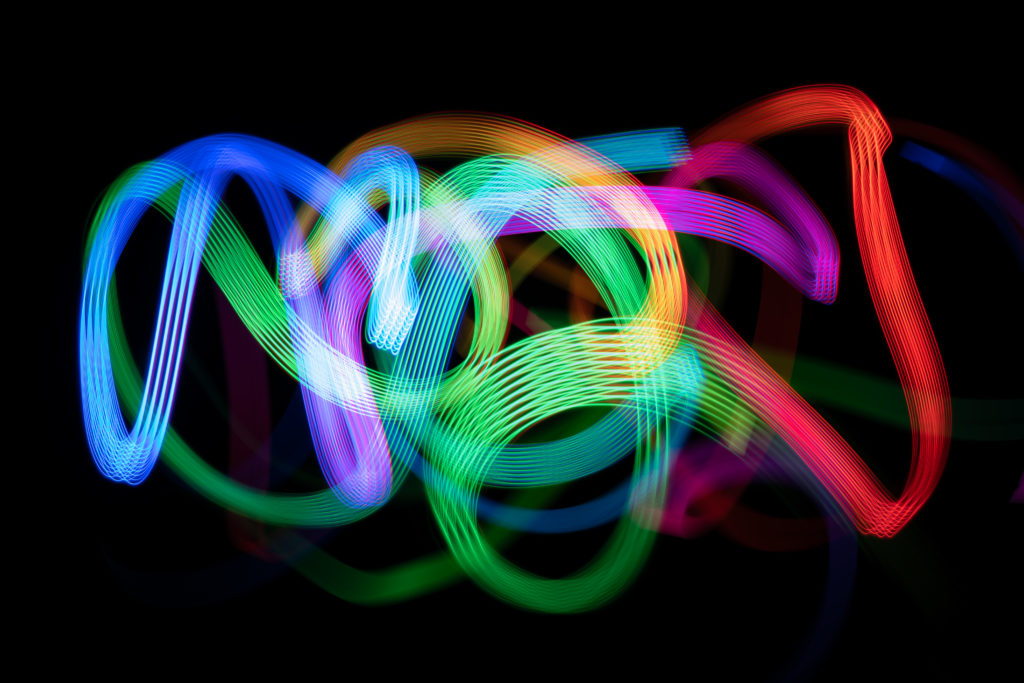
During the Creative Media Summer School at FH St. Pölten in late June 2021, I took part in the „Arduino Interactive“ Workshop, where I built a sensor controlled, long-exposure remote for my digital camera. In this week long „Hackathon“ five other students as well as myself – all under the supervision of Prof. Christian Munk – created unique ways of controlling our cameras with the help of the Arduino platform and a kit of other parts including buttons, sensors & LEDs.
Day 1
After the initial online opening ceremony, our workshop kicked off with Christian Munk giving us a quick overview over all the pieces that will go into making our camera remote. The brain behind the operation is an Arduino Uno micro-controller. Prof. Munk had designed and ordered PCBs that fit right on top of the Ardunio, creating a so called „shield“ expansion board, to which you can connect sensors and other components to.
One important topic that needed to be discussed individually for every participant, was the remote shutter interface of the digital camera that was available to us. Depending on make and model, the devices typically use a 3,5mm TRS jack connection (aka an „AUX cable“). The camera I use however uses a 2,5mm TRRS jack connection for which it is significantly harder to find parts for. For this purpose I needed to order a 3,5mm to 2,5mm adapter cable, in order to connect my camera to the jacks that were supplied to us.
After all the prelimenary info, everyone began soldering their shield. On the PCB we added resistors, sockets for the optocouplers (which act as switches to trigger the camera) as well as headers to connect to the other components (potentiometer, button, switch, LEDs & jacks for the sensors)
Day 2
On the second day of the workshop I completed the soldering of the shield and moved on to preparing those external components for connecting them to the headers. Once all the parts where prepared, I began testing them one after the other by using the Arduino IDEs example sketches. To my relief, all the elements worked perfectly even after connecting them to the Arduino all at once.
With the standard part of the hardware now completed, it was time to start concretizing the concept for my final product. I took some time and tested the response of each of the sensors, as well as seting up a new Arduino sketch, in which I defined the functions of the hardware pins and set variables for the necessary in- and outputs.
Day 3
Day three started out with a second, closer look at the external shutter interface used on my camera, the Panasonic Lumix S5. Compared to most other modern mirrorless and DSLR cameras, the Lumix has a rather quirky way of controlling the cameras operation externally (on top of the aforementioned cable situation). Instead of using separate pins for focus and shutter, it uses a line of serial resistors, that are either in- or excluded by switches and therefore deliver a specific voltage level for the different actions to be triggered inside the camera.
In order to recreate this circuit that is found inside the OEMs external shutter remote, I had to create an additional smaller circuit board to connect in between the Arduino and the camera. This circuit would be one serial path of resistors with connections going off to the optocouplers on the Arduino shield.
Throughout the day I also began 3D-modelling a case for the assembly to fit into, which was then 3D-printed over the course of the night (6,5 h print time) using PLA on a BQ Witbox 2. This design was based off of the case for my ongoing project „oXYchrome“ as part of the audio masterclass.
Day 4
The first thing I did the next morning was checking the result of the 3D print and testing the fit of the Arduino inside the case. Next I re-mounted the shield on top of the Arduino and everything fit! I could proceed with installing thread inserts into the mounting holes, where the faceplate would later screw in place. In the following step, this faceplate was modeled to act as a mount for all the interactive elements (including jack sockets for the sensors & camera). It took me one revision to get the placement of the parts right. I also added a imprinted logo.
In a very fortunate turn of events, the adapter cable for my camera arrived a day early, so I could finally begin creating the extra PCB needed for the external release. I first recreated the circuit on breadboard in order to test the functionality with the S5. When I got everything working, I transferred the circuit to a small piece of PCB. I added headers in order to connect it in between the shield and the jack socket that receives the cable from the camera.
At this point I could actively start creating a code prototype to test the operation of my concept. Here I assigned the available controls to specific functions of the assembly. For example, the two way switch changes which sensor is being used for triggering the shutter, while the potentiometer adjusts the length of the exposure.
Day 5
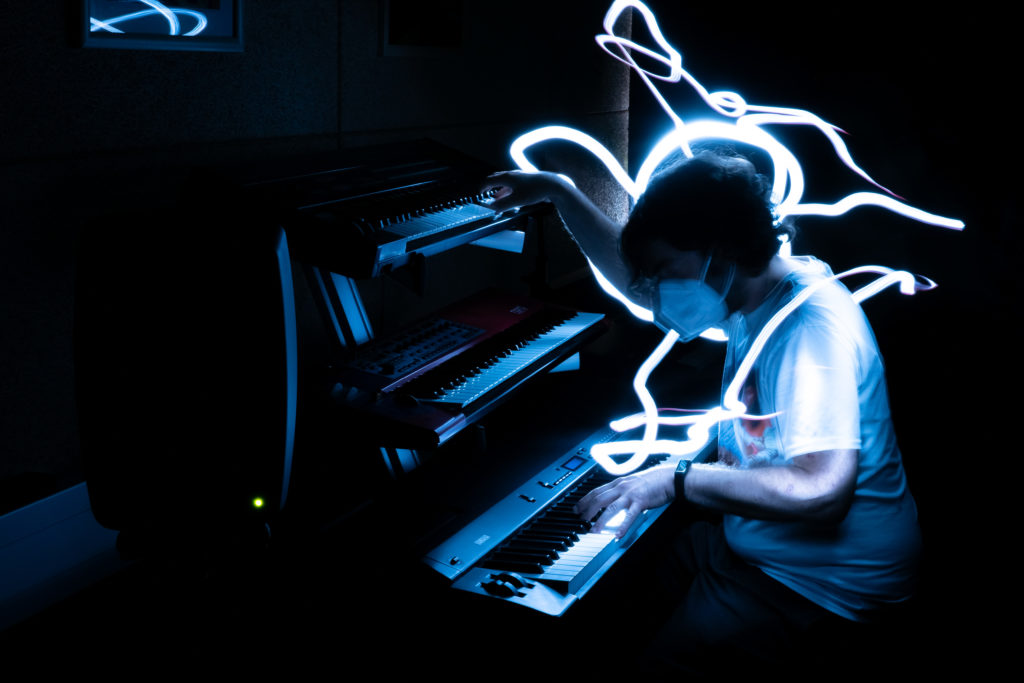
When I got to the FH in the morning, the finished lid was waiting for me inside the 3D-Printer. Immediately I went to work and fixed all the components inside the adjusted holes and tried closing the case again, and this time it worked. With everything in position, I did another function test and after fixing some loose wires „KAMERard“ was finally finished.
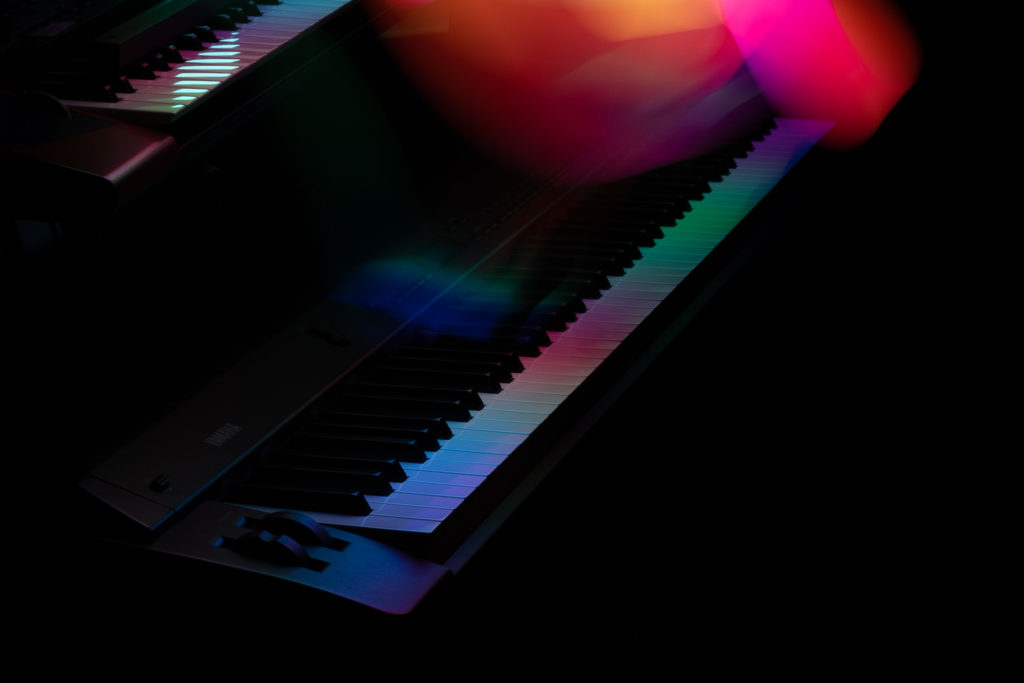
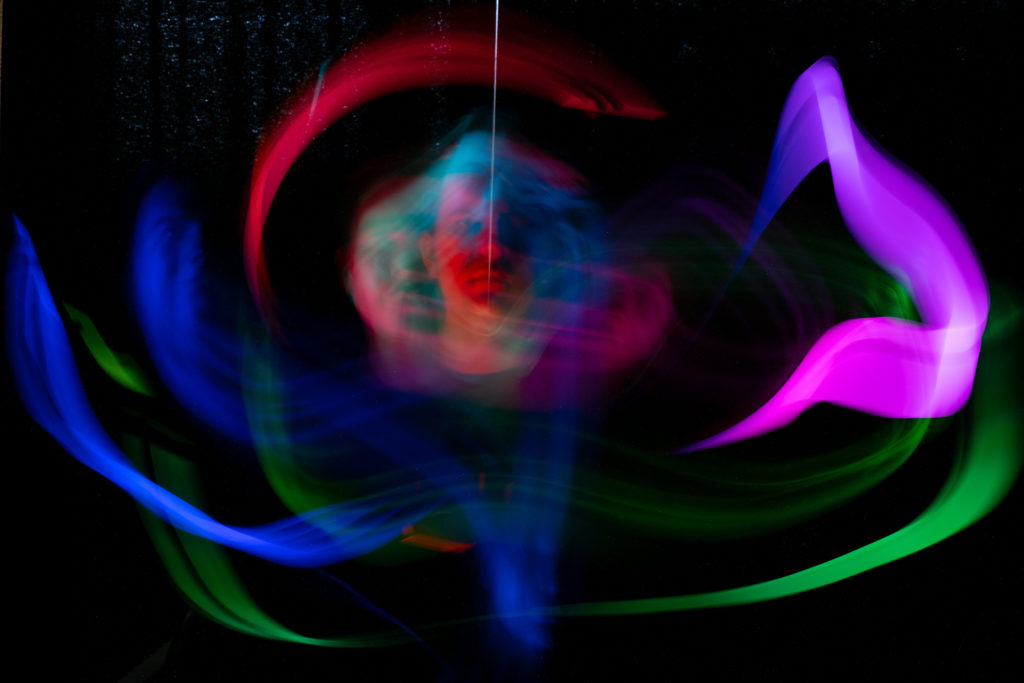
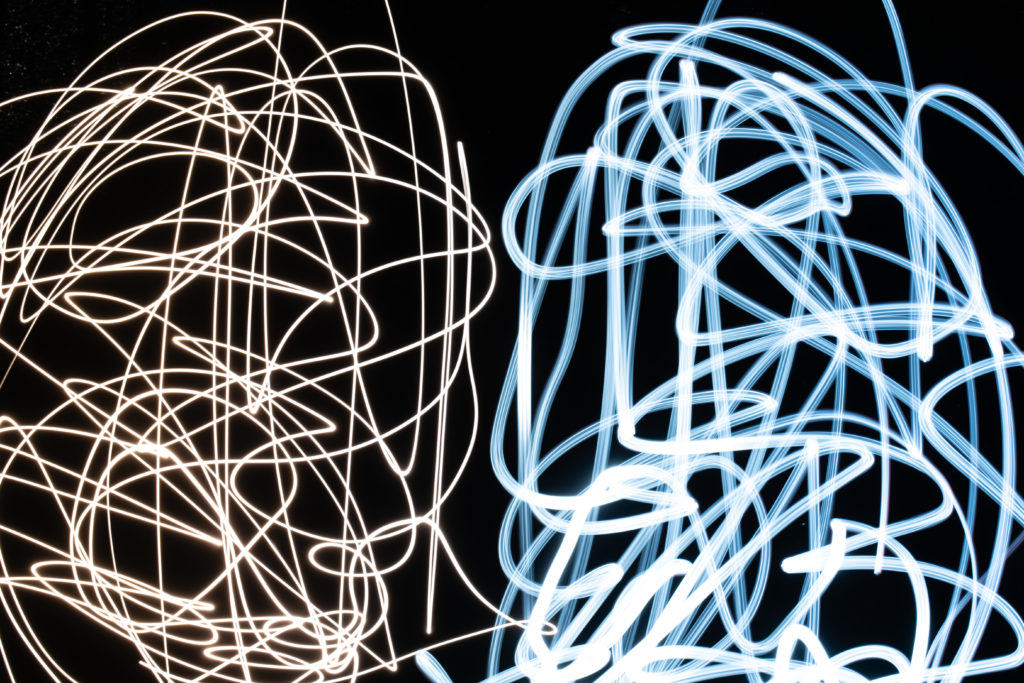
The last 3 hours before the final presentation were spent taking demo pictures as well as editing the video shown at the beginning of this article. Even for this short amount of time, I am quite happy with the results I managed to get. I used regular flashlights, as well as an app on my phone that turned it’s screen into a color flashlight, which was very inspiring to work with and created some unique images.
After the end of the workshop I went home to look at the pictures on my monitor and do some small adjustments here and there in order to create two triptychs that you can see here.

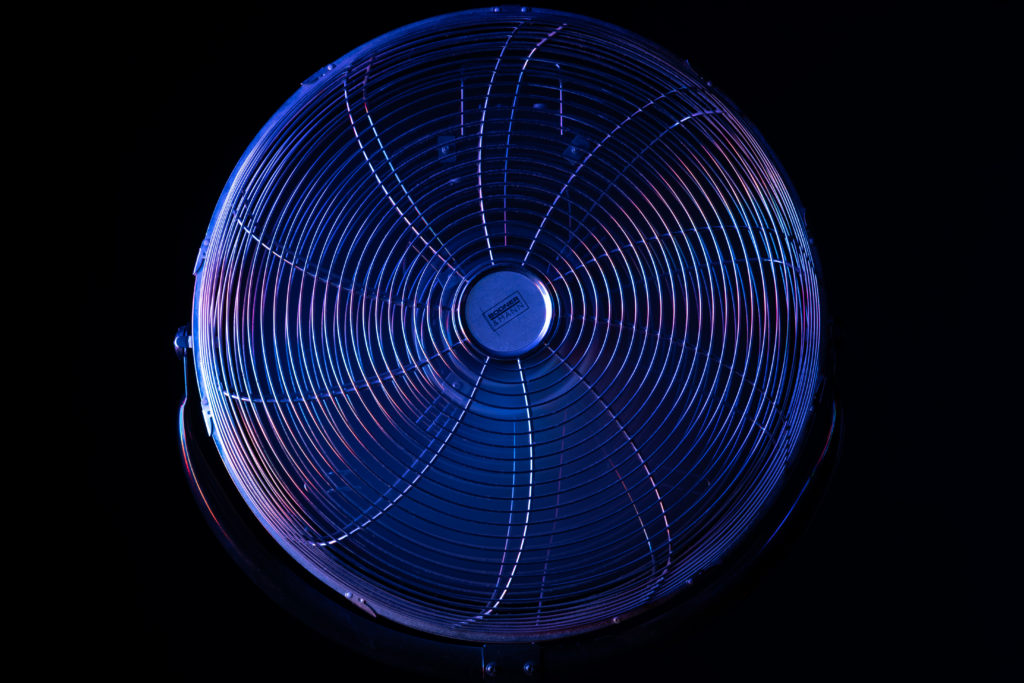
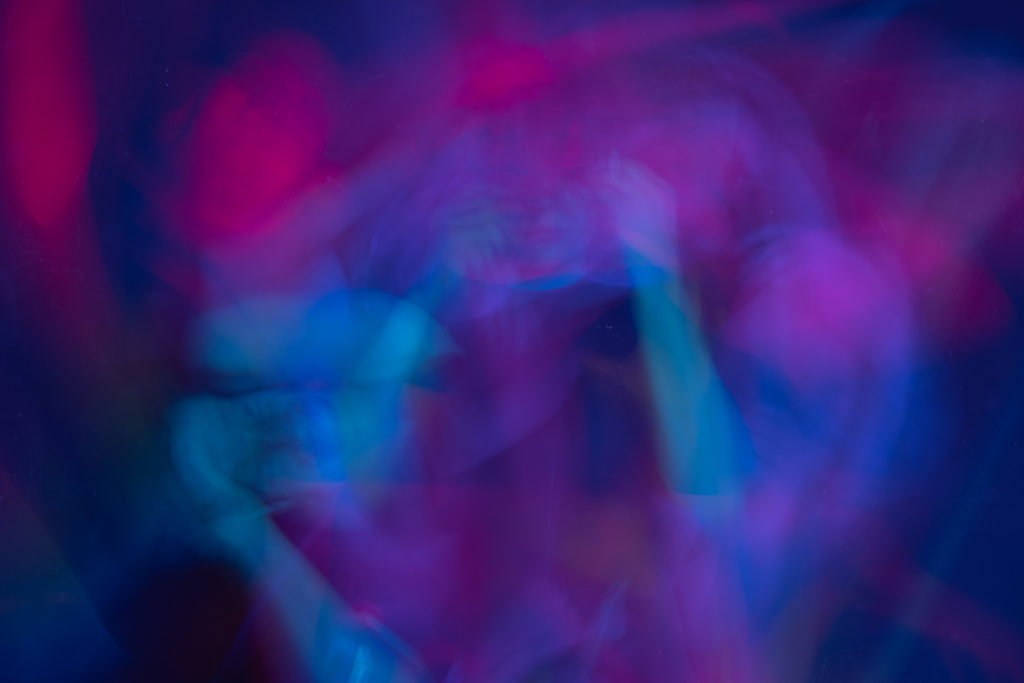
On the weekend following the Summer school, I went into a photography studio in order to further experiment with „KAMERard“. I will continue trying to find new ways to implement the project into my photography work.


TUN-Project
baroXmedia 2022 – Making Of video
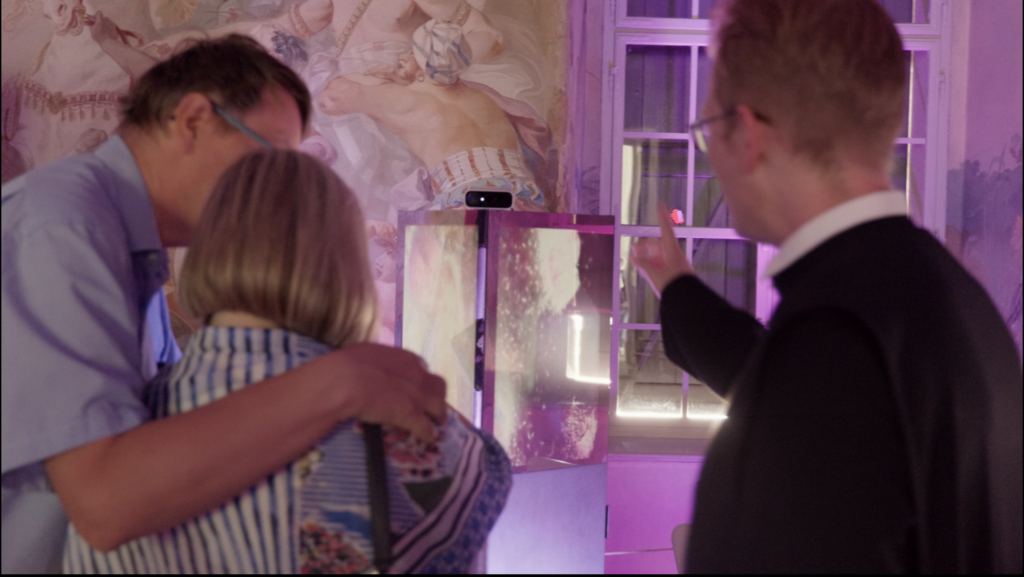
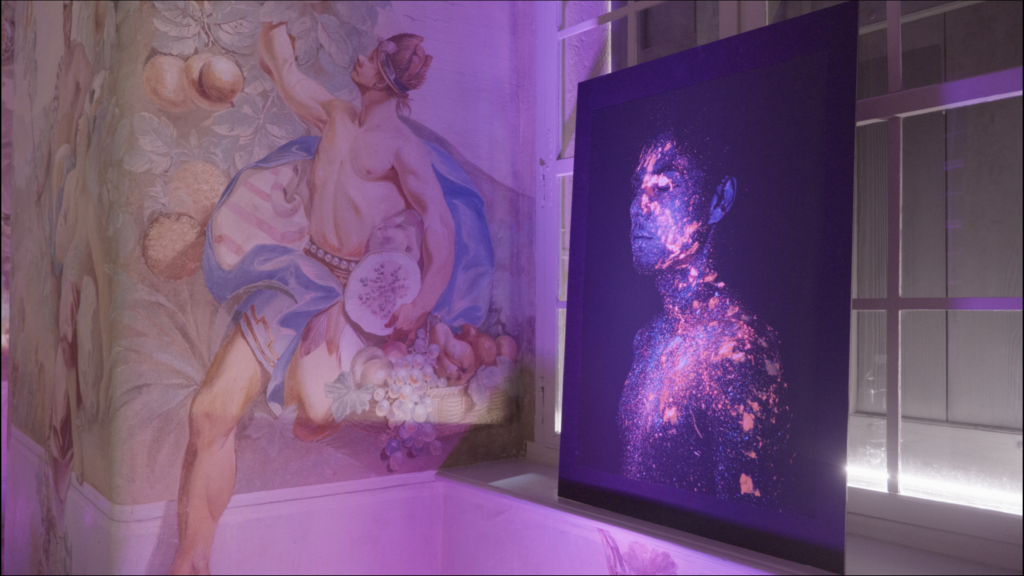
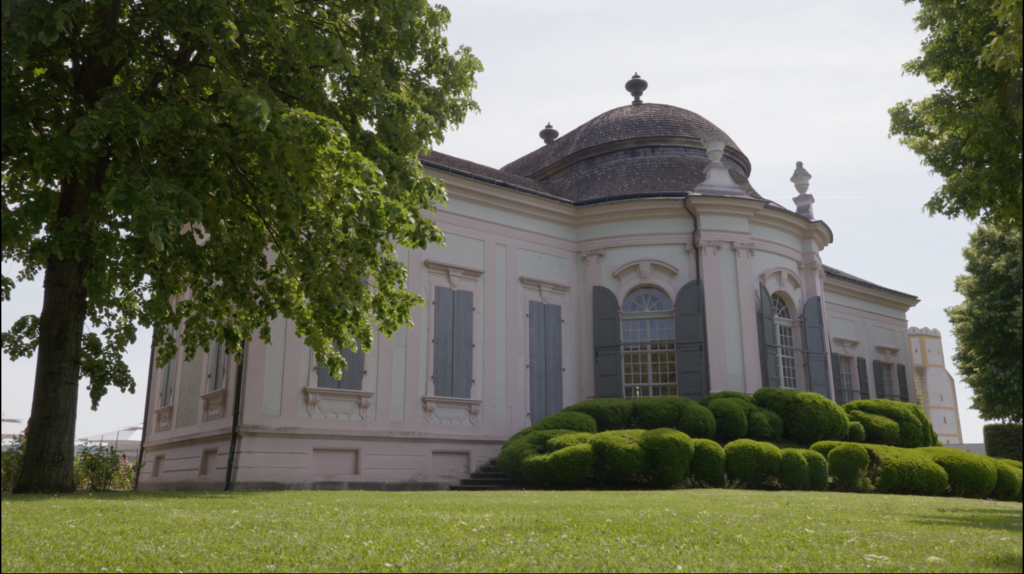
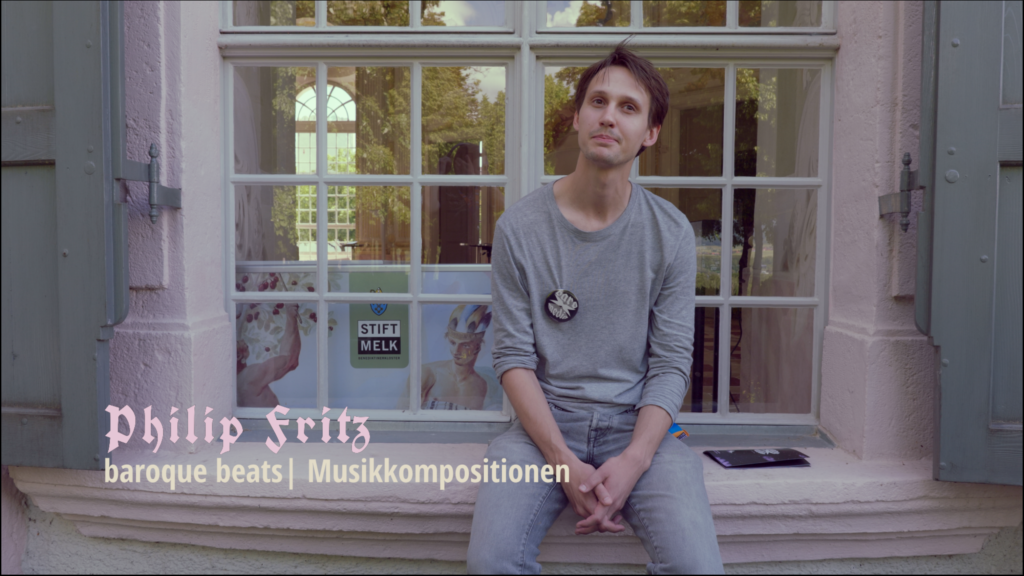
Every year, students of the masterclass ‚experimental media‘ get to present their semester projects at the beautiful baroque monastery complex in Melk, Austria. This exhibition, called ‚baroXmedia‘, showcases various types of media-art set in a scenic environment.
As part of the class ‚TUN/FORSCHEN/GRÜNDEN‘, I got commissioned to create a short documentary film about the 2022 outing of the event. This projected helped broaden my creative horizon in the visual realm and was a lot of fun to work on. It represents the first video, which I recorded, cut/edited and color-graded by myself as part of a larger project, supporting the vision of the masterclass and documenting their incredible work.
During the weekend of the exhibition, I filmed every step from the arrival and set-up to the presentation itself. On top of that, I conducted interviews with the students, who created the projects as well as the professors involved in the process. All this material was then combined into an eight minute movie, which you can watch here:

Musikprojekte
Pulsure – Jamuary
Inspired by the online „challenge“ of #Jamuary I decided to make a piece of music every day for the whole month of January 2021. Supplemented by a video of the performance these songs were first created and uploaded daily to InstagramTV, later the were re-arranged, mastered and compiled to form my first album under the monicker ‚Pulsure‘. Each song on the album was created with different constellations of equipment ranging from an iPad application to synthesizers, DAWs and even an expansive modular synthesizer system. This also lead to the exploration of various genres like ambient, hip-hop, techno, drum & bass and psy-trance.
Pulsure – (In)Security EP
Following up the improvisational and spontaneous ‚Jamuary‘ album, I released a project called ‚(In) Security EP‘ which had been a long time in the making. My goal with the 5-track album was to pay hommage to the sounds of electronic music which had such a huge impact on me and made me want to make music. Many flavors of bass music are showcased along the auditve journey of the EP, be it Drum & Bass, Glitch Hop, Dubstep, Breakbeat or Downtempo.
Prior to the full EP, the track ‚Bubbles‘ was released as a lead single. It also recieved a beautiful music video by the talented 3D artist hysmenia, which you can watch below.